
Anytone 878 custom display
Customizing the display on your AnyTone 878 handheld transceiver allows you to personalize your device by changing the boot screen, background image, font colors, and more. Below is a detailed, step-by-step guide to help you through the customization process using the AnyTone CPS (Customer Programming Software).
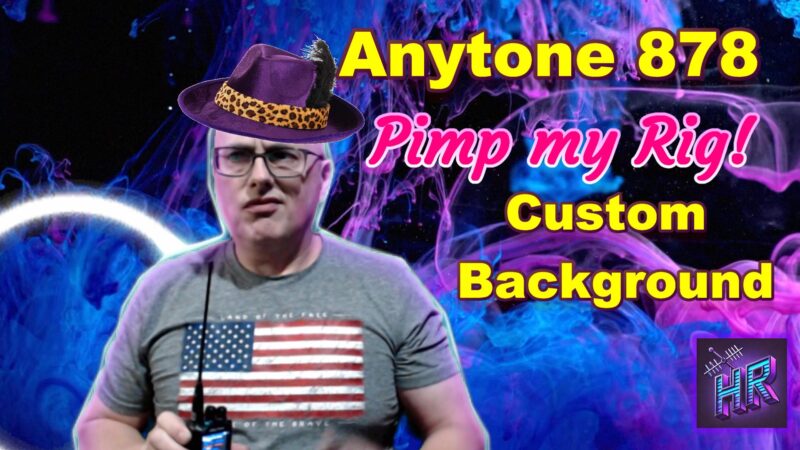
Here’s a Youtube video I did that you can use as a guide, there’s some extra info on where to find “tweaked” display images provided by Anytone. One of the nice things about the Anytone 878 is how you can make many changes to the radio to “make it yours”.
🛠️ What You’ll Need
- AnyTone 878 radio (any model variant)
- USB programming cable (typically included with the radio)
- AnyTone CPS software (ensure it’s the version compatible with your radio model)
- A Windows PC
- Image editing software (e.g., Paint.NET, GIMP, Photoshop)
🎨 Step-by-Step Display Customization
1. Prepare Your Images
- Boot Screen Image:
- Create an image with dimensions 160×128 pixels.
- Save it as a .bmp file (bitmap format).
- Background Image:
- Create an image with dimensions 160×128 pixels.
- Save it as a .bmp file.
💡 Tip: Use clear, high-contrast images to ensure readability on the radio’s screen. Avoid overly detailed graphics, as they may not display well on the small screen.
2. Connect Your Radio to the PC
- Turn off your AnyTone 878 radio.
- Connect the radio to your PC using the USB programming cable.
- Turn on the radio.
- Launch the AnyTone CPS software on your PC.
3. Set the COM Port
- In the CPS software, navigate to Set > Set COM.
- Select the COM port corresponding to your connected radio.
- Click OK to confirm.
4. Upload the Boot Screen Image
- In the CPS software, go to Tool > Boot Image.
- Click Open Image and select your prepared boot screen
.bmpfile. - Click Write to upload the image to your radio.
5. Upload the Background Image
- In the CPS software, navigate to Tool > Background Image.
- Click Open Image and select your prepared background
.bmpfile. - Click Write to upload the image to your radio.
6. Customize Font Colors and Display Settings
- In the CPS software, go to Optional Setting > Display.
- Here, you can customize:
- Font color
- Backlight settings
- Display time
- Other visual elements
- Adjust the settings to your preference.
7. Write Settings to the Radio
- After making all desired customizations, click Write to Radio in the CPS software.
- Ensure that all settings, including images and display preferences, are selected for writing.
- Click OK to begin the process.
- Wait for the software to complete the writing process.
8. Verify it worked
- Disconnect the radio from the PC.
- Turn off the radio, then turn it back on.
- Observe the boot screen and background to ensure your custom images are displayed correctly.
- Navigate through the menus to verify font colors and other display settings.